Developers
See docker/dev for instructions on how to start at dev setup.
This is the multi-page printable view of this section. Click here to print.
See docker/dev for instructions on how to start at dev setup.
Install from stable release
curl -fsSL https://taranis.ai/install.sh | bash
Clone via git
git clone --depth 1  https://github.com/taranis-ai/taranis-ai
cd taranis-ai/docker/
Copy env.sample to .env
cp env.sample .env
Open file .env and change defaults if needed. More details about environment variables can be found in the README.md.
Taranis AI images are tagged as follows:
1.1.7)stable)latest)See Internal TLS Configuration for setting up TLS encryption and Advanced monitoring for more logging insights. For detailed information about container tags, release strategy, and deployment recommendations, see Releases and Container Tags.
See Advanced monitoring for more logging insights.
TO circumvent the potential reusage of older local images
docker compose pull
Start-up application
docker compose up -d
Use the application
http://<url>:<TARANIS_PORT>/login
The default credentials are user / user and admin / admin.
The passwords for these two default users can be overridden by setting the environment variables PRE_SEED_PASSWORD_ADMIN or PRE_SEED_PASSWORD_USER before first launch.
Afterwards they are stored in the database in the user table.
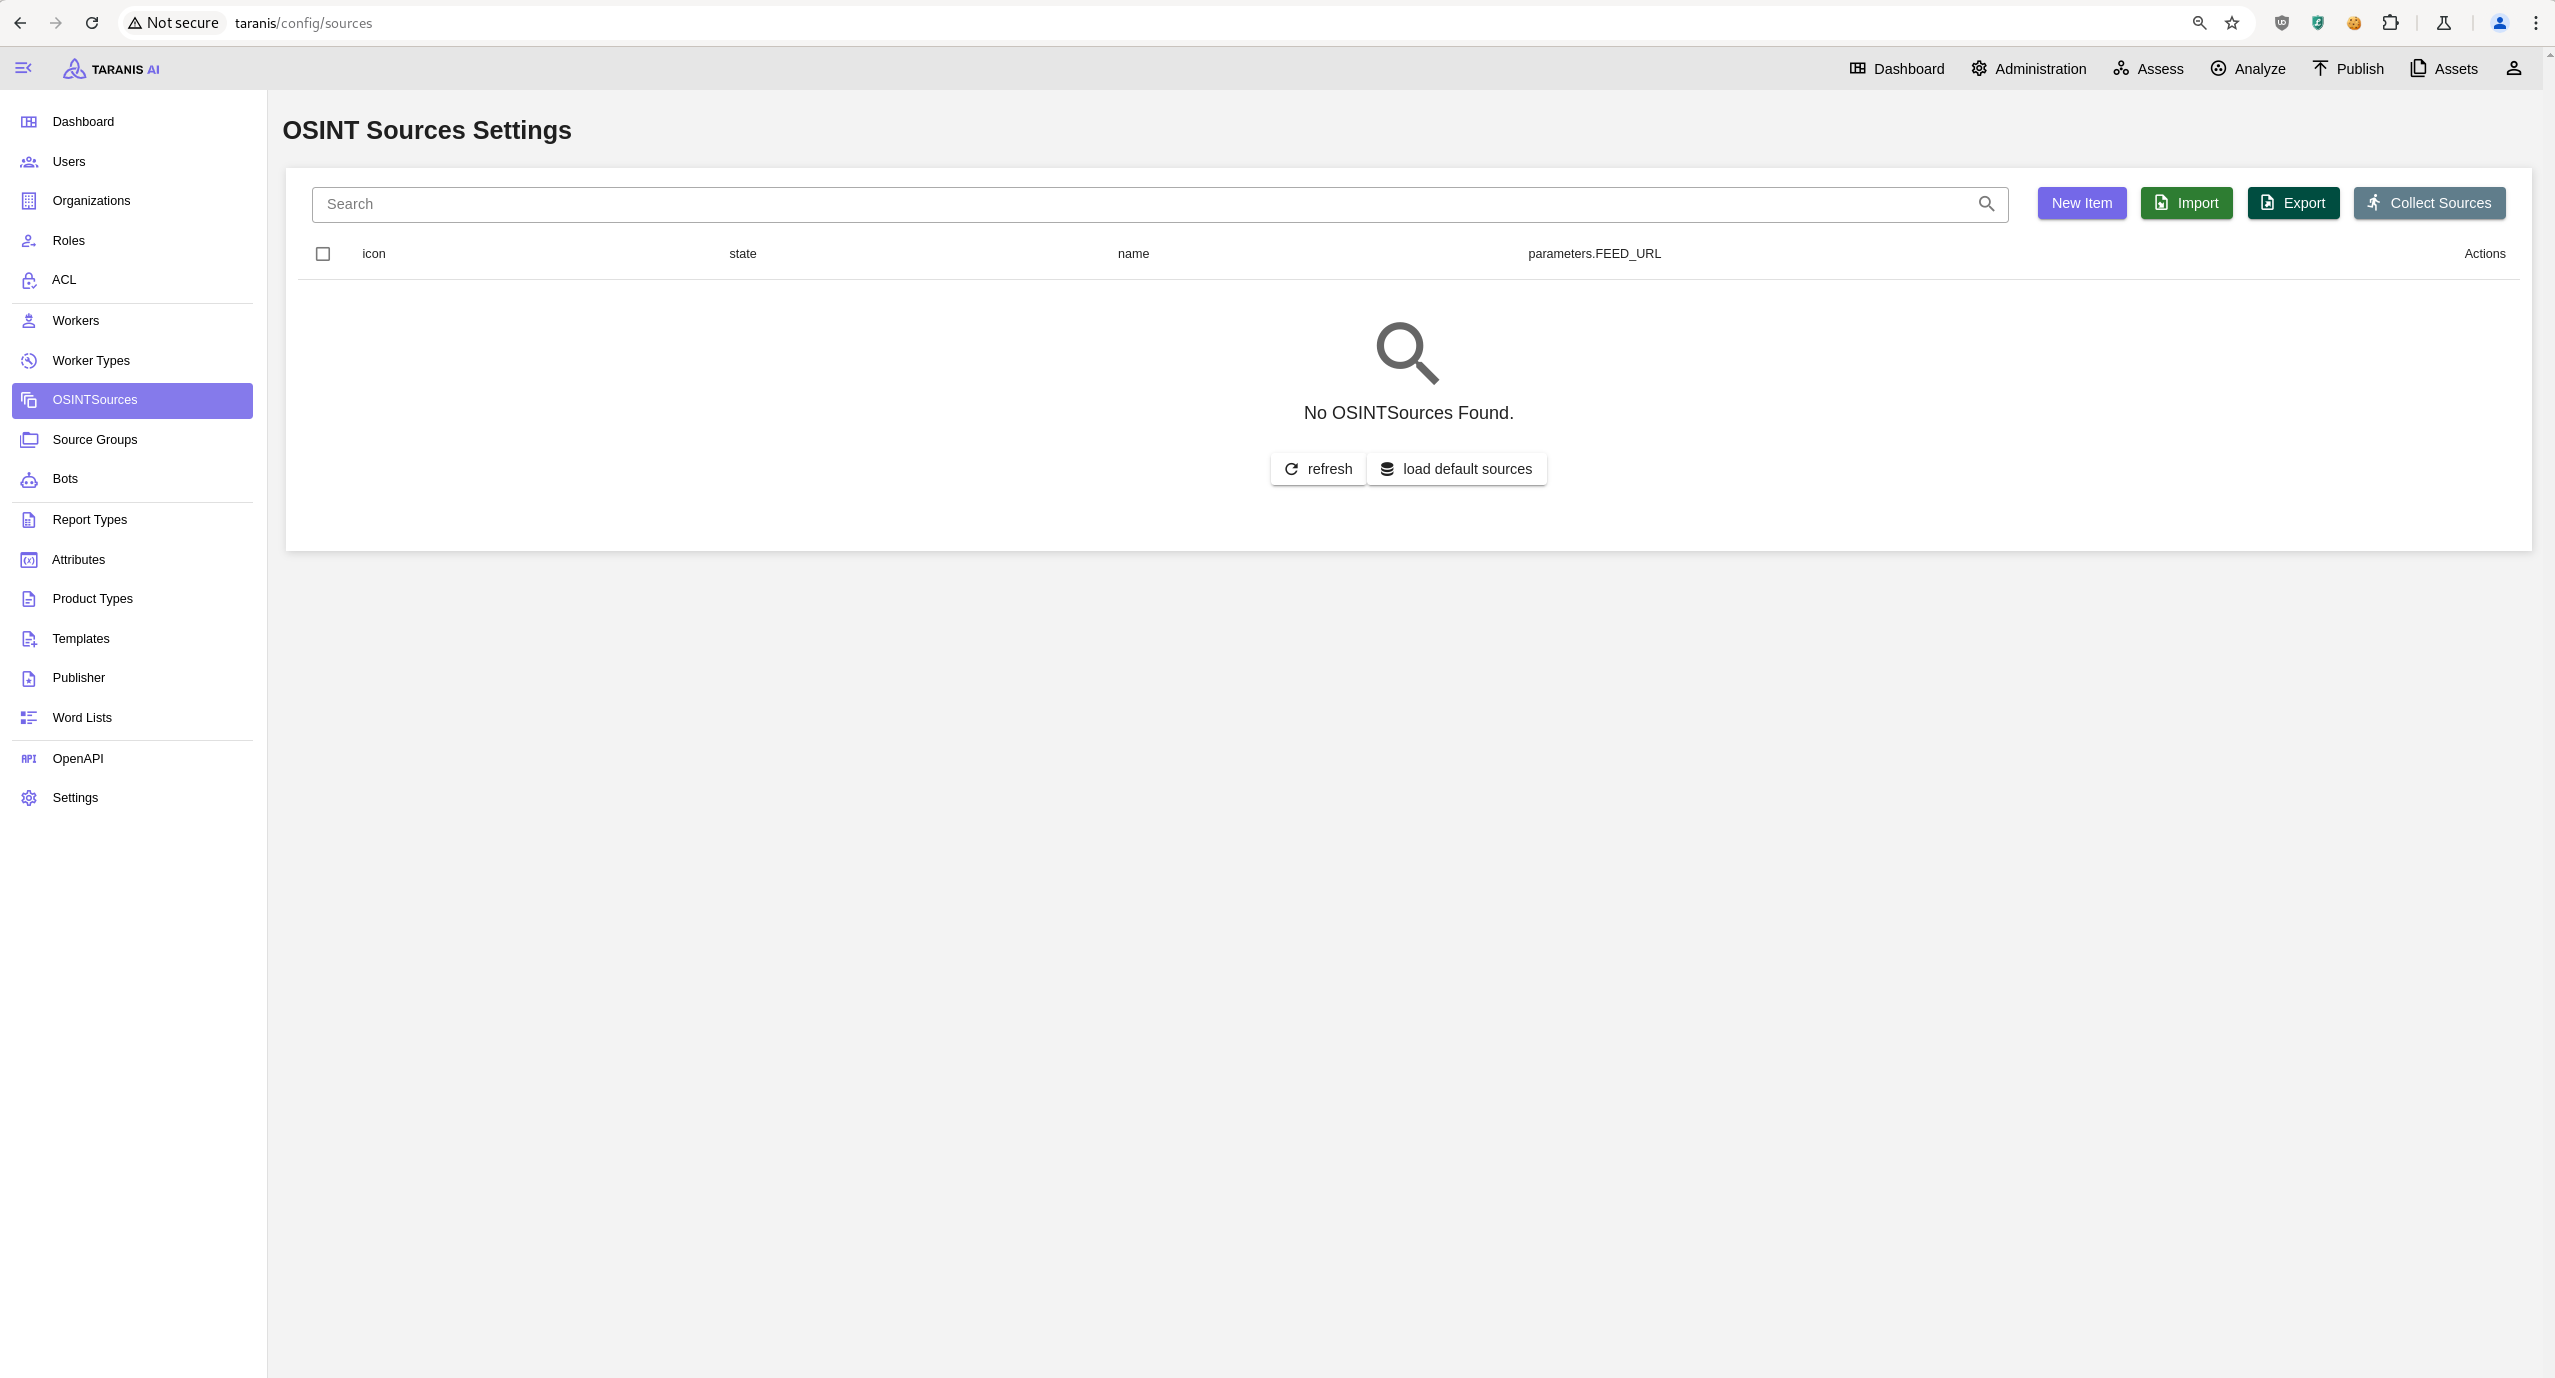
Open http://<url>:<TARANIS_PORT>/config/sources and click load default sources to import the default sources from: default_sources.json
Or import a source export via the Import.
Clone via git
git clone --depth 1  https://github.com/taranis-ai/taranis-ai
cd taranis-ai/docker/
Copy env.sample to .env
cp env.sample .env
Open file .env and change defaults if needed. More details about environment variables can be found here.
See Internal TLS Configuration for setting up TLS encryption and Advanced monitoring for more logging insights. See Releases and Container Tags for information about container image versions, Internal TLS Configuration for setting up TLS encryption, and Advanced monitoring for more logging insights.
Download and install kompose.io
# resovle variables from .env into taranis-ai/docker/compose.yml
docker compose config > resolved-compose.yml

# convert compose file to kubernetes
kompose --file resolved-compose.yaml convert
If you want to connect to a kubernetes cluster you can do something like this:
kubectl create ns db
helm repo add bitnami https://charts.bitnami.com/bitnami
helm repo update

helm install pg-ha bitnami/postgresql-ha -n db \
  --set postgresql.username=app \
  --set postgresql.password=apppass \
  --set postgresql.database=appdb \
  --set pgpool.adminUsername=pgpool \
  --set pgpool.adminPassword=pgpoolpass \
  --set postgresql.replicaCount=2

kubectl -n db port-forward statefulset/pg-ha-postgresql 54321:5432 &
kubectl -n db port-forward pod/pg-ha-postgresql-1 54322:5432 &
And then connect with:
SQLALCHEMY_DATABASE_URI="postgresql+psycopg://app:apppass@/appdb?host=127.0.0.1,127.0.0.1&port=54321,54322&target_session_attrs=read-write&connect_timeout=3"
Taranis AI publishes container images to GitHub Container Registry (ghcr.io) with different tagging strategies for core services and bots.
All images are available at GitHub Container Registry.
Core Taranis AI services follow a stable and tested release process:
| Tag | Description | Use Case | Stability |
|---|---|---|---|
stable | Latest manually tested and verified release | Production deployments | ✅ High |
v1.2.3 (semver) | Specific version (semantic versioning) | Pinned production deployments | ✅ High |
latest | Latest build from main branch | Development/testing only | ⚠️ May contain bugs |
Bot containers follow a similar release process, with versions decoupled from the core Taranis AI services:
| Tag | Description | Use Case | Stability |
|---|---|---|---|
stable | Latest manually tested and verified release | Production deployments | ✅ High |
1.2.3 (semver) | Specific version (semantic versioning) | Pinned production deployments | ✅ High |
latest | Latest build from main branch | Development/testing only | ⚠️ May contain bugs |
For the best experience using Taranis AI, we recommend that your system meet the following requirements:
| Resource | Minimal (w/o bots) | Recommended |
|---|---|---|
| CPU | 2 cores | 12 cores |
| RAM | 2 GB | 16 GB |
| Storage | 16 GB | 40 GB |
Note: The recommended requirements assume that all bots are active concurrently. You can estimate the requirements for running only some of the bots from this table:
| Bot | CPUs | RAM | Storage |
|---|---|---|---|
| cybersec-classifier | 2 | 2.0 GB | 8.3 GB |
| NER | 2 | 7.0 GB | 8.38 GB |
| story-clustering | 2 | 1.5 GB | 6.8 GB |
| summary | 2 | 1.5 GB | 8.4 GB |
| sentiment-analysis | 2 | 2.5 GB | 8.12 GB |
You can assume the number of CPUs and RAM to be cumulative, so for running two bots concurrently, sum up the required number of CPUs and RAM. Reserve an additional 2 CPUs and 2 GB RAM for normal system operation.
Example: For running story-clustering and NER bots at the same time, your system should have 6 CPUs and 10.5 GB of RAM.
GPU support for accelerating bot performance will be available soon. Further details and configuration options will be provided once this feature is launched.
Supported upgrade of PostgreSQL 14.x to PostgreSQL 17.x. This upgrade is capable of upgrading a fully running instance of Taranis AI. Expect Taranis AI downtime during the process of the upgrade.
docker/compose.yml file.docker/compose.yml) is setup to use the image of PostgreSQL 17 (check your POSTGRES_TAG variable in the .env file)taranis-ai/dockerupgrade-database.sh is executable./upgrade-database.shAll containers should now be again up and running!
SENTRY_DSN) ready.Sentry is a monitoring tool that enables more insights about an application. Taranis AI takes advantage of this if you enable it at the start up.
Sentry can be used to monitor insights about GUI, Core and database. In Taranis AI: Issues, Traces, Profiles and Queries can be tracked.
To enable Sentry, set the SENTRY_DSN variables in the .env file before start of the application. More details about environment variables can be found here.
To gain insights about GUI, use the TARANIS_GUI_SENTRY_DSN variable and set it to your Sentry DSN address.
To gain insights about Core and database, use the TARANIS_CORE_SENTRY_DSN variable and set it to your Sentry DSN address.
This guide explains how to configure TLS (Transport Layer Security) for Taranis AI using the Granian ASGI server. TLS provides encrypted communication between clients and the server, essential for secure deployments.
The primary TLS configuration is handled through Granian environment variables:
For a basic TLS setup, configure these environment variables:
# SSL Certificate file path
GRANIAN_SSL_CERTIFICATE=/path/to/your/certificate.pem

# SSL Private key file path
GRANIAN_SSL_KEYFILE=/path/to/your/private_key.pem

# Turn off verification of self-signed certificates in Frontend and Worker service
SSL_VERIFICATION=False

DISABLE_SSE=True
When enabling TLS, you must also update the core URL to use HTTPS:
# Update the core API URL to use HTTPS
TARANIS_CORE_URL=https://your-domain.com/api
This variable affects multiple components:
TARANIS_CORE_URL to communicate with the core APITARANIS_CORE_URL for API communication (falls back to http://{TARANIS_CORE_HOST}{TARANIS_BASE_PATH}api if not set)TARANIS_CORE_API in config.jsonMore Granian environmental variables that affect SSL are derived from the CLI options prefixed with --ssl-*.
Examples:
GRANIAN_SSL_KEYFILE_PASSWORD
GRANIAN_SSL_CA
GRANIAN_SSL_CRL
GRANIAN_SSL_CLIENT_VERIFY
Make sure, all variables are properly set in the compose file. The variable SSL_VERIFICATION can be set for the frontend and worker service.
./certs:/certs:ro)SSL_VERIFICATION=False)https:// prefix. Moreover, the Certificate Authority needs to be added into the container’s trust store by mounting it under /usr/local/share/… Read more at docker.com.Here’s an example Docker Compose configuration with TLS enabled:
services:
  core:
    image: ghcr.io/taranis-ai/taranis-core:latest
    environment:
      # TLS configuration (paths must match the mounted cert directory)
      - GRANIAN_SSL_CERTIFICATE=/certs/certificate.pem
      - GRANIAN_SSL_KEYFILE=/certs/private_key.pem

      - TARANIS_CORE_URL=https://your-domain.com/api
      - DB_URL=database
      - DB_DATABASE=taranis
      - DB_USER=taranis
      - DB_PASSWORD=supersecret
      - API_KEY=your-secure-api-key
      - JWT_SECRET_KEY=your-secure-jwt-secret

    volumes:
      # Mount local certificate directory into the container
      - ./certs:/certs:ro
      - core_data:/app/data

    depends_on:
      - database
      - rabbitmq

    ports:
      - "8443:8080"

    networks:
      - taranis_network

    healthcheck:
      test: ["CMD-SHELL", "curl --fail https://localhost:8080/api/health || exit 1"]
      interval: 90s
      timeout: 30s
      retries: 5
      start_period: 40s

volumes:
  core_data:

networks:
  taranis_network:
    driver: bridge
For Kubernetes deployments, configure TLS using ConfigMaps and Secrets:
# TLS Secret
apiVersion: v1
kind: Secret
metadata:
  name: taranis-tls
type: kubernetes.io/tls
data:
  tls.crt: <base64-encoded-certificate>
  tls.key: <base64-encoded-private-key>

---
# Core Deployment with TLS
apiVersion: apps/v1
kind: Deployment
metadata:
  name: taranis-core
spec:
  replicas: 1
  selector:
    matchLabels:
      app: taranis-core
  template:
    metadata:
      labels:
        app: taranis-core
    spec:
      containers:
      - name: core
        image: ghcr.io/taranis-ai/taranis-core:latest
        env:
        - name: GRANIAN_SSL_CERTIFICATE
          value: "/certs/tls.crt"
        - name: GRANIAN_SSL_KEYFILE
          value: "/certs/tls.key"
        - name: TARANIS_CORE_URL
          value: "https://your-domain.com/api"
        - name: API_KEY
          valueFrom:
            secretKeyRef:
              name: taranis-secrets
              key: api-key
        - name: JWT_SECRET_KEY
          valueFrom:
            secretKeyRef:
              name: taranis-secrets
              key: jwt-secret
        volumeMounts:
        - name: tls-certs
          mountPath: /certs
          readOnly: true
      volumes:
      - name: tls-certs
        secret:
          secretName: taranis-tls
Corrensponds to Taranis release 1.2.4